Embedding Media in Your Blog
Below are some tips and links to the school’s wiki resources for embedding assorted media into your blogs. Embedded media is different than media made available with a link. Embedded media displays within your blog and gives the viewer control of how that media plays. A link will send the viewer to another page from which they may or may not return. In the case of smaller files, WordPress “crunches” the uploaded media files so they ‘live’ independently within your page. Larger embedded media need to live on a server that your blog can access behind the scenes when that media is played. In our case, your larger embedded media files, Soundslides for example, should be stored in your folders at digitalstoragespace.com
Digital Storage Space
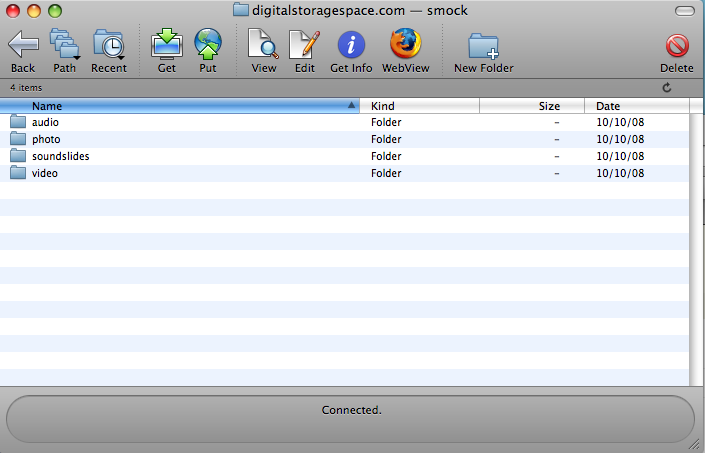
The school provides each student with server space where you can store media that you and viewers can access through a blog or a website. Last week we used Fetch, an FTP client program, to access digitalstoragespace.com. Fetch creates a direct and secure network connection that allows you to upload and download files to and from your digitalstorage.com folders. For a refresher check out the wiki link. Special note: be sure to set up four folders (audio, video, photo and soundslides) within your folder (indicated by your last name) at digitalstoragespace.com. Also be sure and set up your permissions properly and respect naming conventions.
Audio
Your audio should be formatted as an mp3. If your audio is in another format –.wav or .aif, for example, you can convert the file in either iTunes or Switch (the school will soon have instructions for this on the wiki).
After you have your .mp3 audio file, follow the wiki instructions to embed it in your blog post. You can make the audio available as text link or as an audio player (scrubber). You can also link to pieces of audio stored on digitalstoragespace.com (or other domains) Read the wiki instructions carefully.
An audio file can be displayed like this:
Moon Light Sound
Or like this:
Moon Light Sound
[audio:http://cdn.journalism.cuny.edu/blogs.dir/65/files/2008/10/moonlight-sound6.mp3]
Video
Videos (with sound) are larger files and cannot live within your blog. However, you can link to videos from a variety of hosts — YouTube or Flickr, for example, that will display within your blog. Follow the wiki instructions. Be sure and activate the Viper Video plug-in in WordPress. We will talk about hosting smaller videos stored on digitalstoragespace.com later in the semester.
Embedded video looks like this:
[youtube]http://www.youtube.com/watch?v=cG71klJSPPI[/youtube]
Soundslides
Soundslides is a great program for creating audio slideshows. But, embedding a Soundslides slideshow into your blog takes a few steps.
Once you’ve finished your slideshow in Soundslides, you need to export it by clicking on the export button in the lower right of the Soundslides work screen. A folder called ‘publish_to_web’ will be created in the folder in which your photos for the project are stored. Sometimes Soundslides will create the folder elsewhere. You may need to do a search (apple key + F). Using Fetch or another FTP program, put THE ENTIRE publish-to-web folder in the Soundslides folder within your folder (designated by your last name) at digitalstoragespace.com. You can change the name of the publish_to_web folder to better describe the project and distinguish between slideshows.
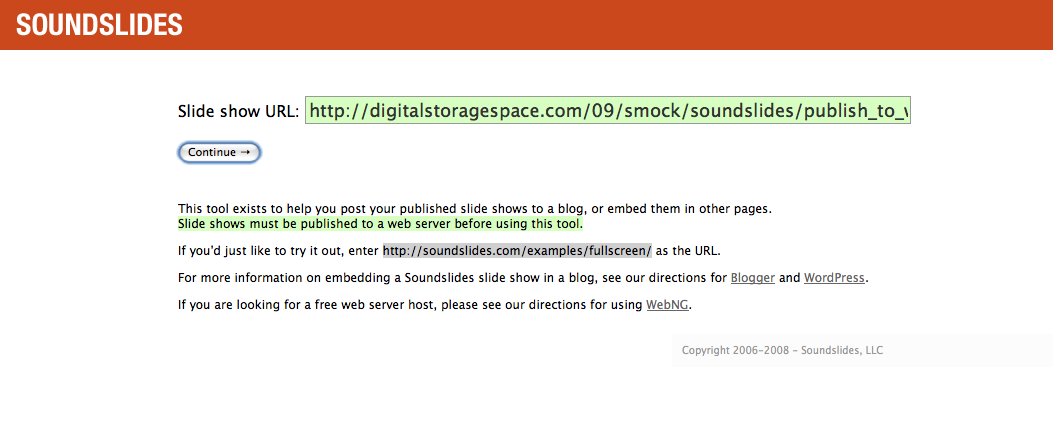
This is where things get a bit tricky. Soundslides has a page that you can use create the lines of html code you will need to embed your project in your page.
You will need to tell Soundslides where to exactly were to find the project on digitalstoragespace.com. Note the folder hierarchy of the URL for class my sample:
http://digitalstoragespace.com/09/smock/soundslides/publish_to_web
You will need to substitute your one folder (designated by your last name) and drop this into the field at the top of the Soundslides/WordPress embed page then press Continue.

The EXACT address to your slideshow needs to be placed in the URL field. Note the 09 (for class of '09) folder.
You then need to tell Soundslides the correct size at which to display your slideshow. Soundslide’s default size is larger than the post area of our blogs. The width should be 500 and height 400. The fields for this are located below the embed code. Enter the correct dimensions and then press Modify.

Once Soundslides has successfully located your slideshow, the first image will appear. Note the fields below the embed codes in which you must put the correct width (500) and height (400) for our blog page dimensions (the numbers in the demo above are incorrect).
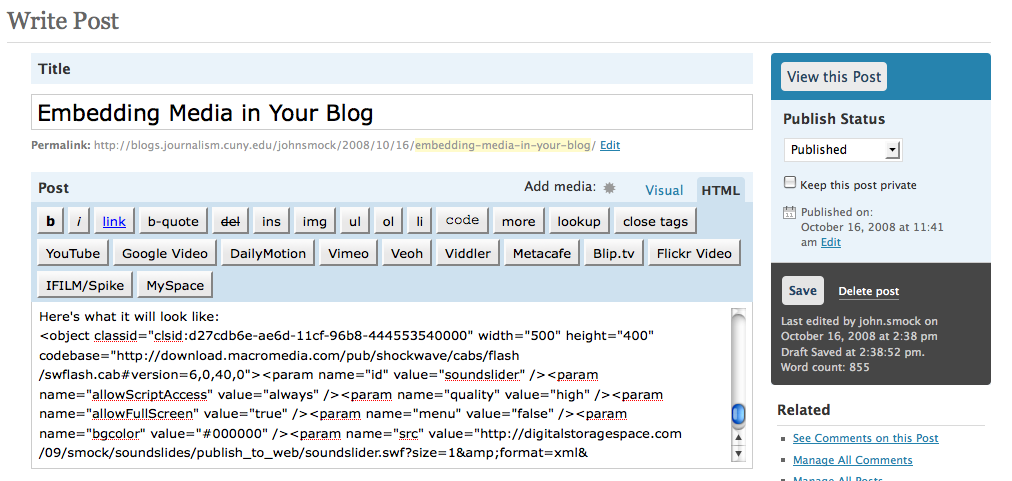
Soundslides will have generated the html embed code you need to cut and paste that code into your WordPress post. Be sure have the html tab (as opposed to the visual tab) selected in WordPress when you paste in the code.
Here’s what it will look like:
That about covers the basics.


